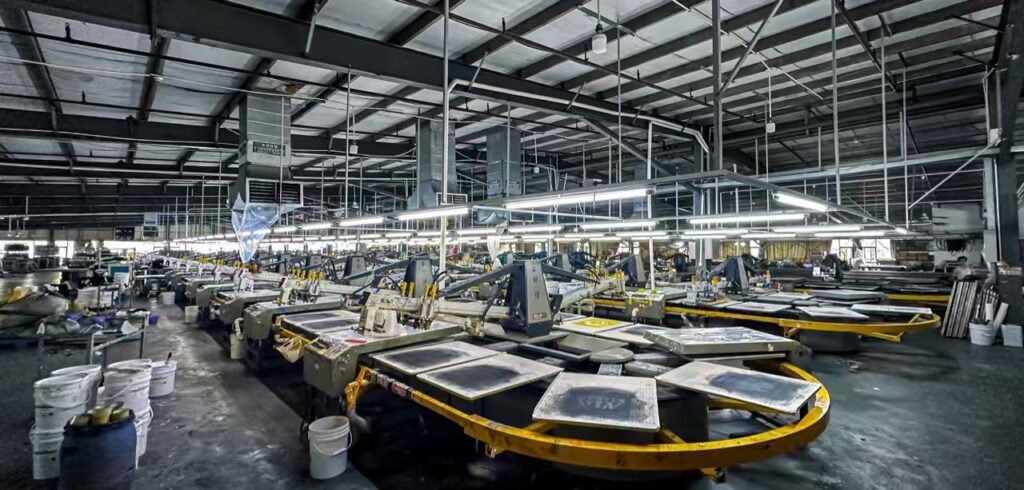
Screen printing is an art that demands precision at every step, the quality of your work heavily depends on the condition of wash screens.
Table of Contents
A clean screen is essential for achieving sharp, high-quality prints and avoiding unexpected issues during printing. This guide will take you step-by-step through the screen cleaning process to ensure your screens are in top condition for your next project.
Mastering the Art of Clean Screens for Screen Printing
Clean screens are the backbone of professional screen printing. By maintaining screens properly, you not only extend their lifespan but also ensure consistent printing results. Here’s a detailed guide to washing your screen effectively using an optimized Wash Screen method.
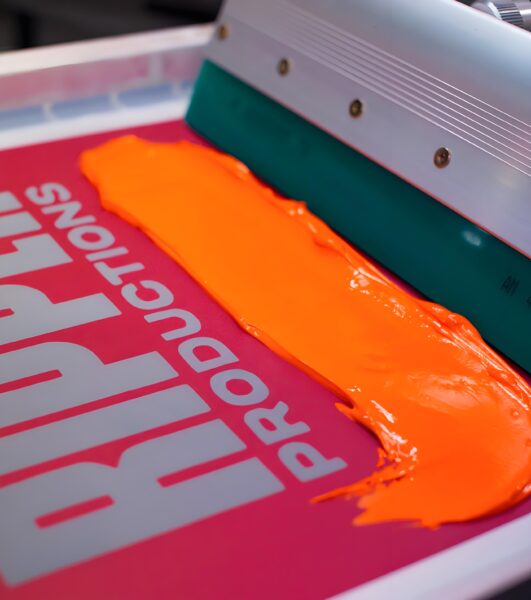
Step 1: Remove the Ink
The first step in cleaning a screen after a printing session is to remove the ink. This prevents the ink from drying and clogging the mesh.
Tools and Materials Needed:
- Ink remover or a biodegradable solvent
- A soft brush or a sponge
- Protective gloves
Process:
- Apply Ink Remover: Pour a small amount of ink remover onto both sides of the screen.
- Scrub Gently: Using a soft brush, scrub the ink off the screen in circular motions.
- Rinse Thoroughly: Use water to rinse the screen, ensuring all traces of ink are gone.
Proper ink removal is critical to maintain the integrity of the mesh and prepare the screen for the next step in the Wash Screen process.
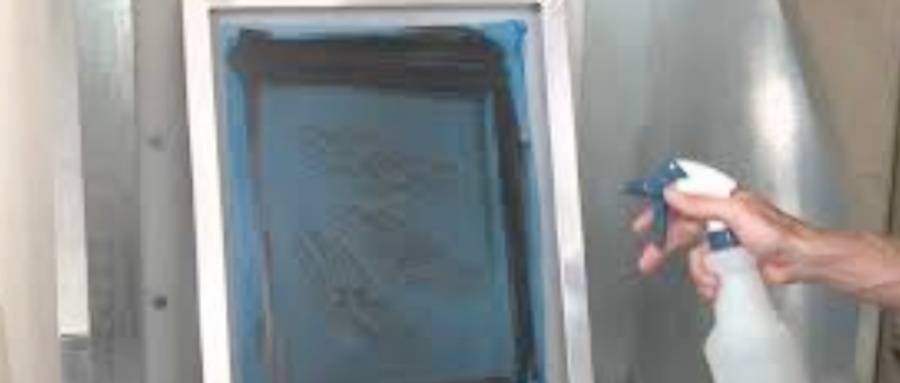
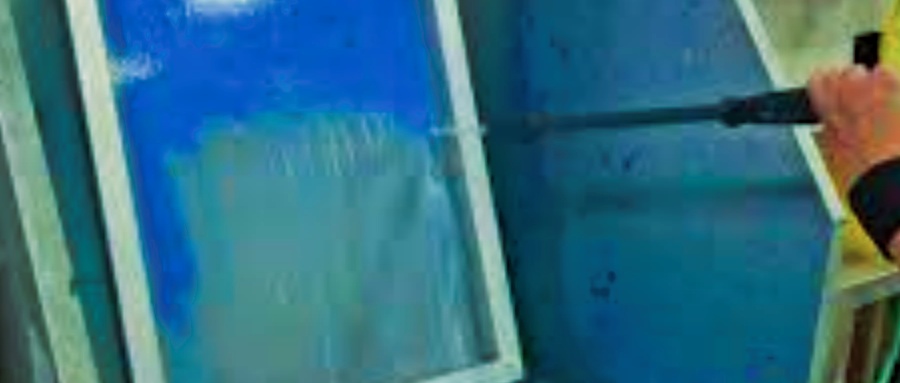
Step 2: Reclaim the Screen by Removing the Stencil
After removing the ink, the next step is to reclaim the screen by removing the stencil or emulsion. This ensures the screen is ready for new designs.
Tools and Materials Needed:
- Emulsion remover
- High-pressure washer
- Scrub pad
Process:
- Apply Emulsion Remover: Spray emulsion remover evenly across the screen on both sides.
- Let it Sit: Allow the remover to sit for a few minutes, but don’t let it dry out.
- Scrub the Screen: Use a scrub pad to break down the emulsion.
- Rinse with High-Pressure Water: Blast the screen with a pressure washer to remove all emulsion residue.
Removing the stencil thoroughly is key to reclaiming the screen without damaging the mesh.
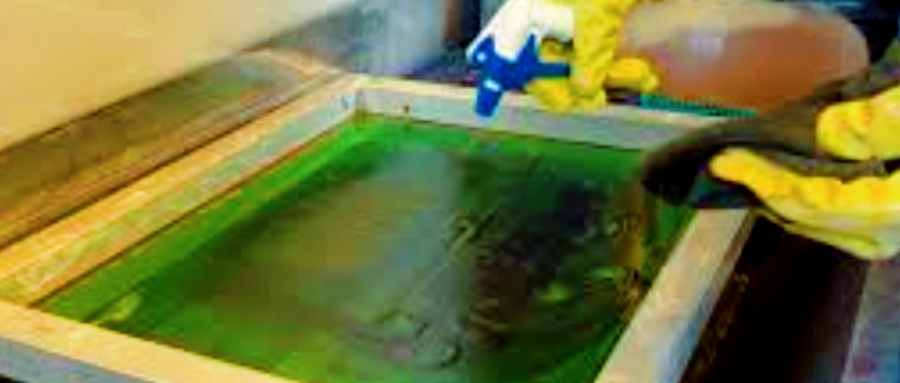
Step 3: Remove Haze and Stains (If Necessary)
Sometimes, ink and emulsion leave behind stains or a haze on the screen. This can affect the clarity of your next print. Removing these residues is an optional but recommended step in the Wash Screen process.
Tools and Materials Needed:
- Haze remover or stain remover
- Scrub pad
- Water source
Process:
- Apply Haze Remover: Dab a small amount of haze remover on the affected areas.
- Scrub the Screen: Gently scrub the area to lift the haze or stains.
- Rinse Thoroughly: Wash off the remover with water and inspect the screen for any remaining marks.
Removing haze ensures a completely clean screen, which is crucial for achieving precision in your prints.
Step 4: Degrease Your Screen
Degreasing is the final cleaning step before the screen is ready to dry and reuse. It removes any grease, dirt, or residue left on the screen.
Tools and Materials Needed:
- Degreaser
- Sponge or scrub pad
- Clean water
Process:
- Apply Degreaser: Spray degreaser generously on both sides of the screen.
- Spread Evenly: Use a sponge or scrub pad to spread the degreaser across the mesh.
- Rinse with Clean Water: Thoroughly rinse the screen with clean water to remove all traces of the degreaser.
Degreasing ensures that the mesh is completely clean and free from contaminants, preventing issues like pinholes during the printing process.
How to Dry Your Screen for Screen Printing
Drying the screen properly is a crucial final step in the Wash Screen process. A damp screen can lead to issues with stencil adhesion and printing quality.
Tools and Materials Needed:
- Clean, lint-free cloth
- Drying rack or area with good airflow
- Optional: Low-humidity environment
Process:
- Remove Excess Water: Shake the screen gently to remove as much water as possible.
- Pat Dry with Cloth: Use a clean, lint-free cloth to absorb remaining water.
- Air Dry: Place the screen in a drying rack or an area with good airflow. Avoid stacking screens to prevent moisture buildup.
For the best results, ensure the screen is completely dry before applying emulsion or starting a new printing project.
Conclusion
Maintaining clean screens is a fundamental part of screen printing. By following these detailed steps in the Wash Screen process—removing ink, reclaiming the screen, addressing haze, degreasing, and drying—you can ensure your screens remain in optimal condition for producing high-quality prints.
Taking the time to clean and care for your screens not only improves your printing results but also extends the life of your tools, saving you time and money in the long run. For professional screen printers and hobbyists alike, mastering the art of the Wash Screen process is an essential skill.
Whether you’re working on your first screen printing project or you’re a seasoned professional, these steps will help you achieve consistent, high-quality results every time.Proper ink removal is a critical step to prevent any leftover ink from impacting the subsequent cleaning process and compromising the screen’s quality. Be particularly mindful of the edges and corners, as these areas tend to trap ink. Using a soft-bristled brush or cloth, gently scrub these sections to dislodge any stubborn ink residues. After thoroughly addressing these areas, rinse the screen with water to remove the dissolved ink and cleaning solution completely.