Screen printing is an art and science that relies heavily on the right equipment and technique. A key component to successful printing is a scoop coater.
Table of Contents
This simple yet powerful tool helps to apply emulsion evenly across your screen, setting the foundation for a crisp, clean print. In this guide, we’ll explore how to optimize your screen printing process with SHALITEINK tools, especially the scoop coater, to achieve high-quality, professional results every time.
Step 1: Preparation is Everything
Before you start applying emulsion, it’s essential to prepare your screen properly. This is where the scoop coater comes in. A clean screen ensures that the emulsion adheres properly, leading to a smooth, consistent coating. Make sure your screen is free from dust, oil, and other contaminants to ensure optimal adhesion of the emulsion.
Once your screen is clean and dry, it’s time to load your scoop coater. The amount of emulsion you pour into the coater should be enough to cover the screen evenly without spilling over. Using a high-quality scoop coater allows you to avoid waste and ensures even distribution for the best results.
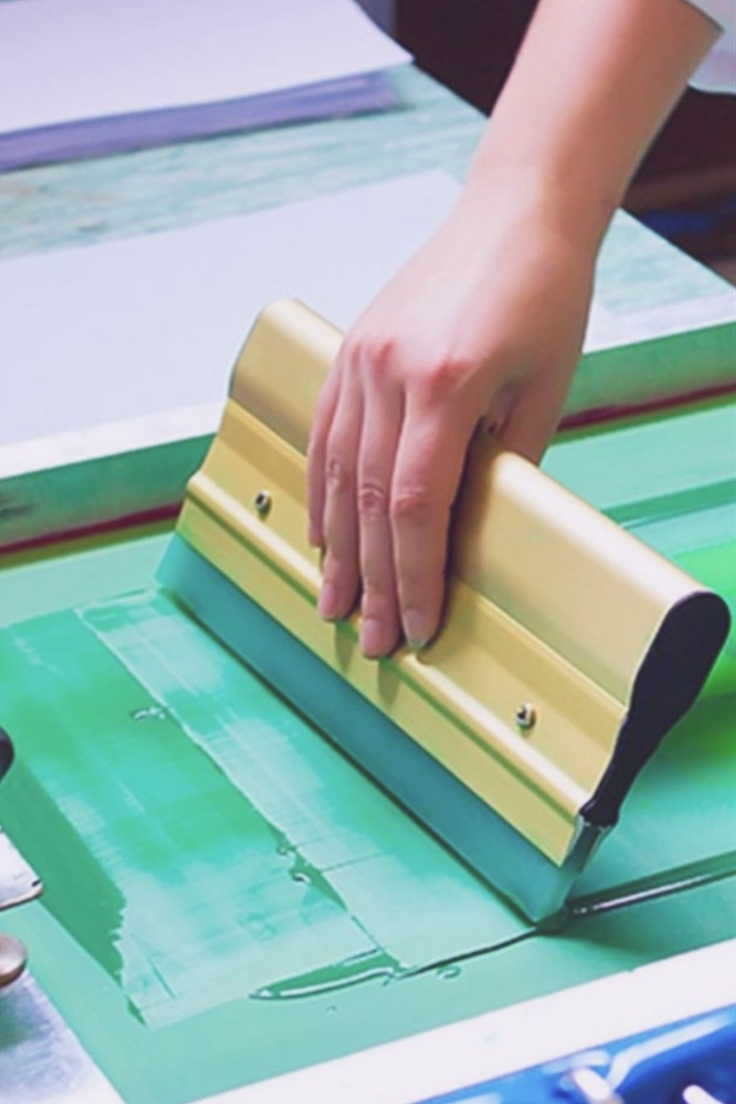
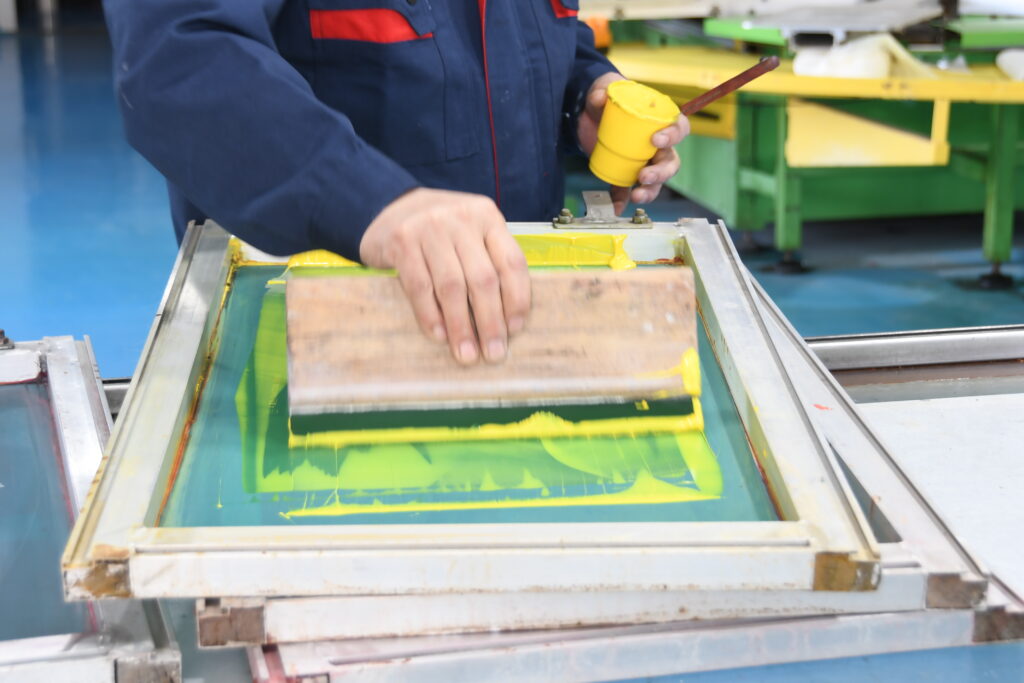
Step 2: Use the Scoop Coater Correctly for Even Application
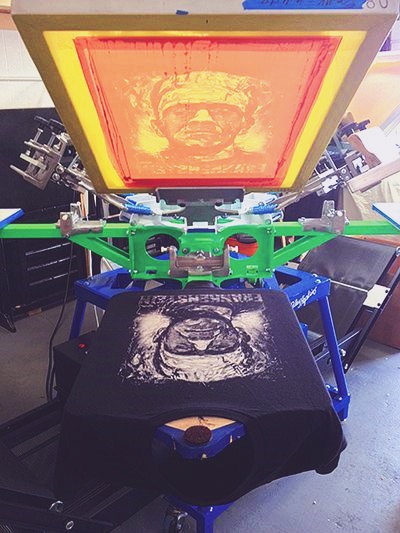
The scoop coater is your best friend when it comes to getting a smooth, even coat of emulsion. Hold the coater at a 45-degree angle to ensure that the emulsion is applied evenly across the screen. Start at the bottom of the screen and move steadily upward. The key to using the scoop coater effectively is to apply consistent pressure. Too much pressure can lead to uneven application, while too little pressure can cause streaks or patches.
To get the perfect coating, you may need to pass the scoop coater over the screen multiple times. Each pass should be smooth and consistent to ensure that the emulsion spreads evenly without leaving any gaps or streaks. With a little practice, you’ll become more efficient in applying the emulsion with the scoop coater, resulting in a perfect base for your design.
Step 3: Drying and Curing—A Critical Stage
After you’ve applied emulsion with the scoop coater, the next step is drying. The emulsion needs to cure properly in a dust-free, controlled environment before you can expose your screen. The drying time can vary depending on temperature and humidity, so be sure to work in a room that’s cool and dry. Too much moisture or heat can affect the drying time and lead to improper curing, which could impact the quality of your prints.
While the screen dries, keep it away from direct light to avoid premature exposure. The drying phase is critical for ensuring that the emulsion is stable and ready for exposure, and using a scoop coater that provides consistent results at the beginning makes this stage easier to manage.
Step 4: Exposure—Get the Right Detail
Once the emulsion is dry, it’s time for the exposure stage. The exposure process is where your design will be transferred onto the screen. The key to a successful exposure is making sure that the emulsion is correctly hardened in the areas where your design should be. SHALITEINK’s exposure units are built for precision, but it all starts with the scoop coater. A well-coated screen will expose more evenly, ensuring that fine details of your design are captured accurately.
The exposure time will depend on the type of emulsion used and the light source. Be sure to follow the manufacturer’s guidelines for the correct exposure time. A high-quality scoop coater ensures that the emulsion is distributed evenly across the screen, which is crucial for a clean, sharp image after exposure.
Step 5: Washing and Final Preparations
After exposure, the next step is to wash out the unexposed emulsion. This is where the design starts to appear on your screen. When washing, use a high-pressure water source and gently rinse the screen to remove the unexposed areas. Be careful not to damage the screen or the image.
Once the screen is washed, it needs to dry completely before printing. A properly coated screen ensures that the washing process will leave behind a sharp and clean image. The use of a scoop coater at the beginning ensures that the emulsion stays where it needs to, providing a smooth, sharp stencil for your print.
Step 6: Maintaining Your Equipment
Once you’ve completed your print job, maintenance is key to keeping your screen printing setup running smoothly. Clean your scoop coater after every use to ensure that old emulsion doesn’t build up and cause issues during your next job. Regular cleaning ensures that your equipment lasts longer and continues to provide consistent results. If your scoop coater has dual edges, be sure to clean both to prevent old residue from affecting future applications.
Additionally, maintaining your exposure unit and washing equipment will ensure that your entire screen printing process is efficient and produces high-quality results.
Step 7: Fine-Tuning Your Technique
Mastering the scoop coater and perfecting your screen printing technique takes time and practice. Experiment with different pressures, speeds, and angles when applying the emulsion to see what works best for your designs. Over time, you’ll develop your own method that fits your unique printing style.
Remember that consistency is key—whether you’re printing a single design or batch printing for a larger project, using your scoop coater in a methodical and consistent way ensures that your prints remain of the highest quality.
Final Thoughts
In the world of screen printing, using the right tools is essential, and the scoop coater is one of the most important tools in your arsenal. It helps you achieve the smooth, even coating necessary for professional-grade prints. By using SHALITEINK’s high-quality equipment and following a streamlined process, you can ensure that every print is sharp, clean, and consistent.
The scoop coater plays a crucial role in this process. From application to washing and exposure, it sets the stage for flawless prints. With practice, you’ll become more efficient and confident in using your scoop coater, making your workflow faster and more effective.
By investing in quality tools and mastering your technique, you’ll elevate your screen printing game and achieve stunning results every time.