Screen printing with clear vinyl emulsion opens up a world of possibilities for creating intricate, precise designs.
Selecting the Right Emulsion for Vinyl Screen Printing
The foundation of any successful screen print lies in choosing the correct emulsion. When working with clear vinyl for screen printing, a durable, versatile emulsion is key to producing sharp, clean prints. For this purpose, dual-cure or photopolymer emulsions are ideal, as they can handle both water-based and plastisol inks. These emulsions are especially effective when paired with vinyl stencils, as they allow for fine details and intricate designs.
Remember: the right emulsion ensures your print quality remains consistent, so be sure to follow the manufacturer’s instructions for coating, exposure, and washout. Missteps in these areas can lead to underexposed screens, which will result in blurry or incomplete designs.
How to Use Vinyl Stencils for Crisp Screen Prints
Vinyl stencils are one of the most reliable tools for creating precise, professional-quality designs. Here’s a step-by-step breakdown of how to make the most of your vinyl stencils:
- Design Your Stencil: Cut your design out of clear vinyl using a cutting machine or craft knife. This will serve as the mask for your emulsion-coated screen.
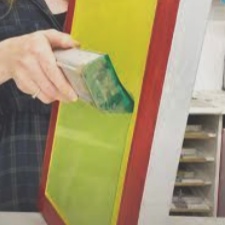
- Coat the Screen: Apply a thin, even layer of clear vinyl emulsion to your screen, then allow it to dry completely. A consistent coating is essential to ensure the design comes out sharp.
- Position the Stencil: Place the vinyl stencil on the emulsion-coated screen, ensuring it adheres smoothly. Pay attention to any air bubbles or wrinkles.
- Expose the Screen: Use a UV light source to expose the emulsion. This will harden the emulsion around the design, leaving the unexposed areas soft and ready for washout.
- Wash Out the Screen: Rinse the screen to remove the unexposed emulsion, leaving behind a sharp, clean design ready for printing.
Vinyl stencils are beginner-friendly and allow for quick setup, making them a popular choice for both small and large projects.
The Importance of Transparency Paper for Clear Prints
Transparency paper plays a crucial role in screen printing, especially when working with clear vinyl emulsion. The quality of your transparency paper directly impacts the accuracy and sharpness of your prints. Opt for high-quality transparency paper that is compatible with your printer and has a high opacity. Thicker, opaque papers block UV light better, ensuring crisp, clear stencils.
Whether you use inkjet or laser printers, always test the transparency paper before starting your print job. This ensures that your designs will come out as sharp as possible, with minimal blurring or misalignment.
Can You Print Directly on Vinyl?
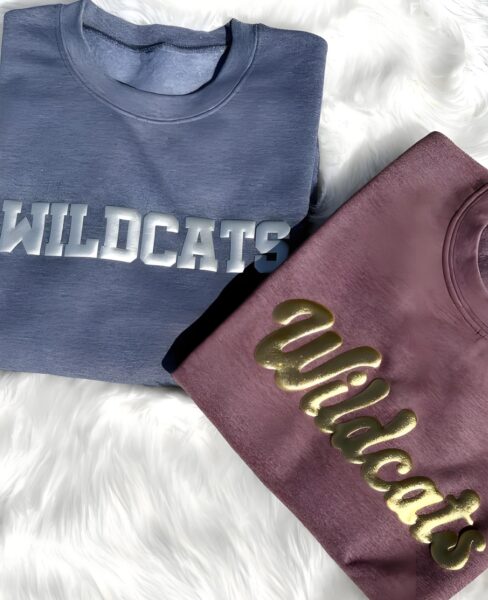
Yes! Vinyl is an excellent material for both creating stencils and printing directly onto surfaces. When used in combination with clear vinyl emulsion, vinyl stencils provide both durability and precision, making them ideal for detailed designs or multi-color prints.
However, for larger production runs, traditional screen printing with emulsion might be more efficient, especially for larger surfaces. Vinyl, while versatile, is often better suited for smaller projects or one-off prints.
Tips for Printing on Clear Transparency Paper
Printing on clear transparency paper is essential for making accurate, high-quality screens. Here’s how to do it right:
- Select the Best Paper: Choose professional-grade, printer-compatible transparency paper. Make sure it’s the right type for your printer (inkjet or laser).
- Printer Settings: Set your printer to its highest quality and select the correct paper type, such as “glossy” or “transparency.”
- Test Print: Always print a test sheet to check for smudging, alignment issues, or any other inconsistencies.
- Handle with Care: Once printed, let the transparency dry completely before handling to avoid smudging your design.
Transparent paper is a must-have when using clear vinyl emulsion to ensure perfect stencil creation and accurate exposure.
Choosing the Right Paper for Screen Printing Success
The paper you choose for screen printing depends on your specific needs. Here are a few options:
- Transfer Paper: Ideal for heat pressing onto fabric.
- Kraft Paper: Perfect for protecting screens during storage.
- Parchment Paper: Useful for shielding your designs during the curing process.
Pairing the right paper with high-quality transparency paper will ensure you get the best results when working with clear vinyl emulsion.
Optimizing Your Screen Printing Setup
For top-notch prints, setting up your screen printing process correctly is essential. Here’s what to keep in mind:
- Screen Preparation: Always ensure your screen is clean before applying any emulsion. Dust and oils can interfere with the coating, affecting your final print. Use a scoop coater to apply an even layer of emulsion.
- Exposure Time: Getting the exposure time right is crucial. Too little exposure results in weak designs, while too much exposure can cause the stencil to harden too much, leading to difficulty washing out the design. Adjust your exposure based on the type of emulsion you’re using.
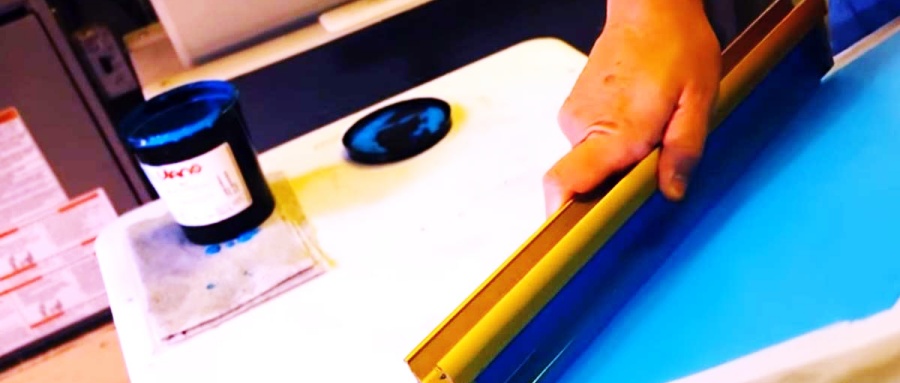
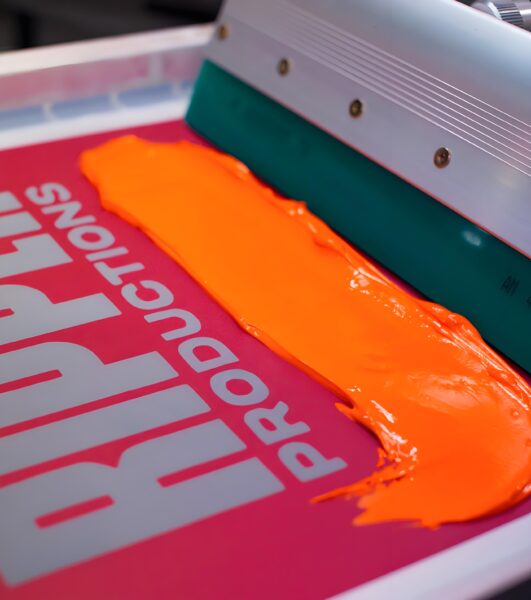
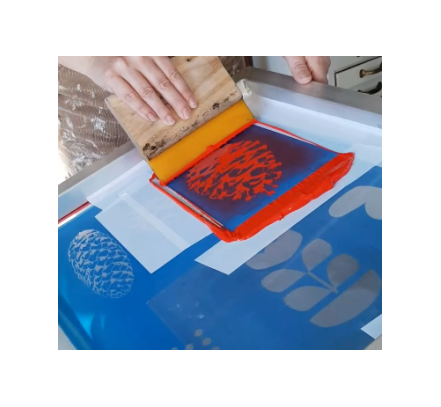
- Inks: For clear vinyl emulsion, both plastisol and water-based inks work well. Plastisol is great for vibrant, opaque prints but requires heat curing. Water-based ink offers a softer finish but may require more precise curing to avoid smudging.
Curing Your Prints: The Key to Longevity
After printing your design, curing the ink properly is crucial to ensure the durability and vibrancy of your print. Use a heat press or conveyor dryer to cure the ink to the manufacturer’s recommended temperature. For plastisol ink, this usually means reaching around 320°F (160°C). Proper curing ensures the print withstands washing and maintains its color over time.
Troubleshooting Common Screen Printing Problems
Even with the best setup, issues can arise during the screen printing process. Here are a few common problems and how to address them:
- Blurry Prints: This often happens due to underexposure. Extend your exposure time to ensure the emulsion hardens properly around your design.
- Uneven Inks: If your prints aren’t coming out evenly, it could be due to improper squeegee technique or inconsistent emulsion coating. Make sure you’re using a consistent pressure and even coating on your screen.
- Ink Smudging: Smudging happens if you handle prints before they’re fully cured. Be sure to allow sufficient drying time to prevent this issue.
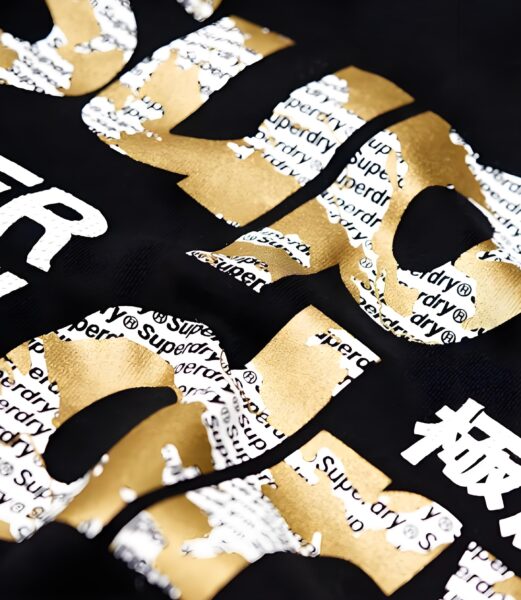
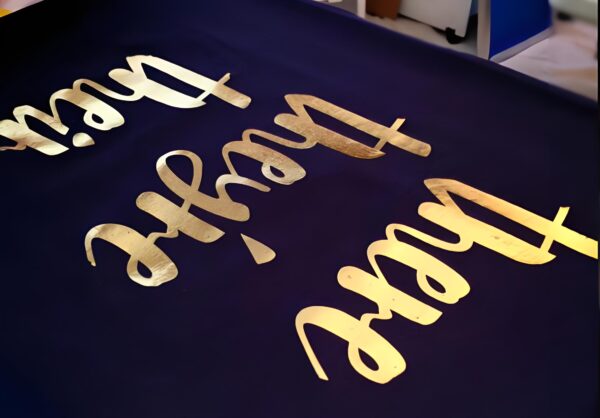
Advanced Techniques: Multi-Color Printing with Vinyl Stencils
Ready to take your screen printing to the next level? Multi-color prints using vinyl stencils allow you to create complex, vibrant designs. Here’s how to get started:
- Layer Stencils: Create different stencils for each color in your design. Once the first color is printed and cured, align and print the next color using a new stencil.
- Accurate Registration: Ensure each layer aligns perfectly by investing in a registration system or creating registration marks on your screen.
- Curing Between Layers: Allow each color to cure fully before printing the next to avoid color mixing or smudging.
Maintaining Your Screen Printing Equipment
Proper care of your equipment will ensure you’re ready to produce flawless prints every time. Clean your screens, squeegees, and exposure units regularly. This not only prevents contamination but also extends the life of your equipment.
Final Thoughts
Mastering screen printing with clear vinyl emulsion takes time, practice, and attention to detail. By carefully selecting your materials, setting up your process correctly, and troubleshooting problems along the way, you can consistently produce professional-level prints. Whether you’re creating single designs or large runs, clear vinyl emulsion offers the precision and flexibility needed for high-quality results.
Happy printing!