Key Takeaways – What You Need to Remember
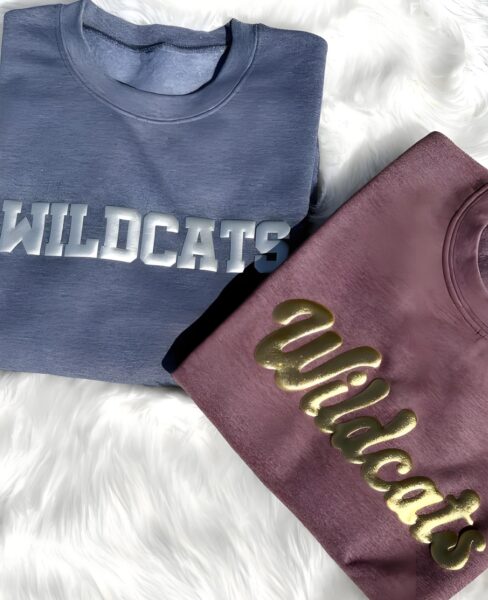
- Plastisol ink is the industry standard for screen print due to its smooth finish, versatility, and forgiving nature in long runs.
- CMYK (process cyan, magenta, yellow, black) is essential for creating photorealistic, full-color prints called four color process or 4 color process15.
- Process plastisol ink is specially formulated for high-detail, transparent in nature, and vibrant color blending in CMYK applications.
- A complete set of supplies includes proper mesh count screens (e.g., 305 mesh), emulsion, squeegees, process cmyk inks, and curing equipment.
- Film separations, halftones, and careful artwork prep are necessary for sharp, photorealistic results with color process plastisol ink.
- Achieving the right viscosity, using reducers or additives, and managing flash cures preserves both color vibrancy and printed detai.
- Consistent curing and detailed inspection of the final print ensure high-quality and long-lasting results for your clients or projects.
- Overcoming challenges like bleed, loss of detail, or mesh clogging involves understanding your ink, mesh, and print process inside out.
- Screen printing with process plastisol ink is part science, part artistry—practice, experiment, and refine for perfect results.
Ready to take your screen printing to the next level? Master the color process, choose the right plastisol ink, and dive into the world of printing photorealistic, high-detail images that wow every time!
The Ultimate Guide to Process Plastisol Ink: Mastering CMYK Color for Vibrant Screen Prints
Summary:
If you’ve ever marveled at a sharp, photorealistic shirt or poster and wondered how that swirling mix of colors came to life, you’re about to find out! This comprehensive article unpacks everything about CMYK process, plastisol ink, and how skilled screen printers blend science and art to supply jaw-dropping, high-detail prints. Whether you’re a pro looking to refine your technique or a newcomer eager to understand the ink systems behind vibrant, full-color results, you’ll find tons of value here. This is your go-to resource for mastering color process plastisol ink.
Article Outline
- What Is Plastisol Ink and Why Is It the Industry Standard?
- Understanding the CMYK Color Process: How Does It Work for Screen Printing?
- Why Use Process Plastisol Inks for Four Color Printing?
- How Do Process Cyan, Magenta, Yellow, and Black (CMYK) Inks Blend to Recreate Color Images?
- What You Need in Your Complete Set of Inks and Supplies
- Preparing Your Artwork for High-Detail CMYK Printing
- Screen Prep: Mesh Counts, Emulsion, and Getting Crisp Halftones
- Mixing and Printing Techniques for Photorealistic Results
- Curing and Checking Your Final Print: Ensuring Vibrant & Consistent Color
- Common Challenges with Process Plastisol and How to Solve Them
1. What Is Plastisol Ink and Why Is It the Industry Standard?
Plastisol ink is the backbone of cutting-edge display screen printing. Unlike water-primarily based ink, plastisol does not dry out on screens, making it forgiving for lengthy print runs and unique designs. It’s thick, clean to paintings with, and provides outstanding opacity so your colour sticks out sharply on each mild and darkish clothes. The semi-transparent nature of technique plastisol ink method that, while implemented effectively, you get a vibrant end with a soft hand feel.
What certainly units plastisol apart is its versatility. It’s used for the whole thing from simple spot color jobs to advanced four color system projects. Plastisol ink binds to the surface of fabric and doesn’t soak in, so your print sits easily on pinnacle of the garment. This allows for crisp information and high-volume output. If you need consistent, professional outcomes along with your screen print work, plastisol is a have to-have to your deliver kit.
2.Understanding the CMYK Color Process: How Does It Work for Screen Printing?
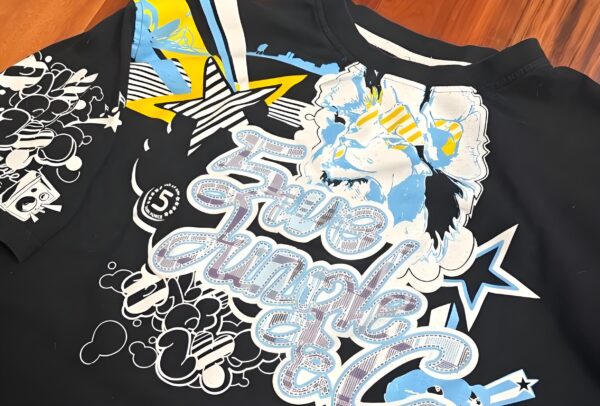
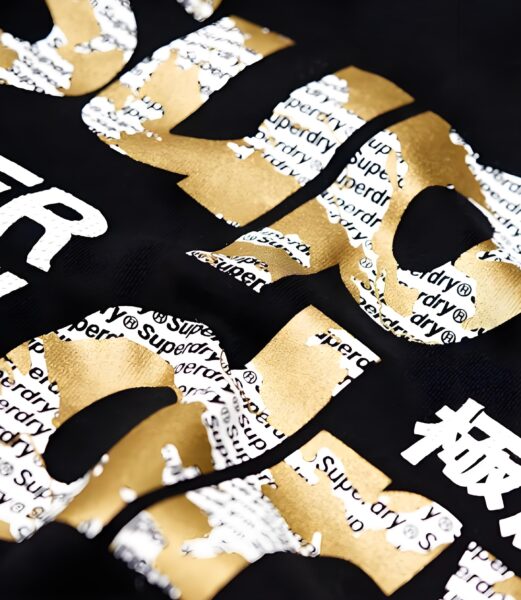
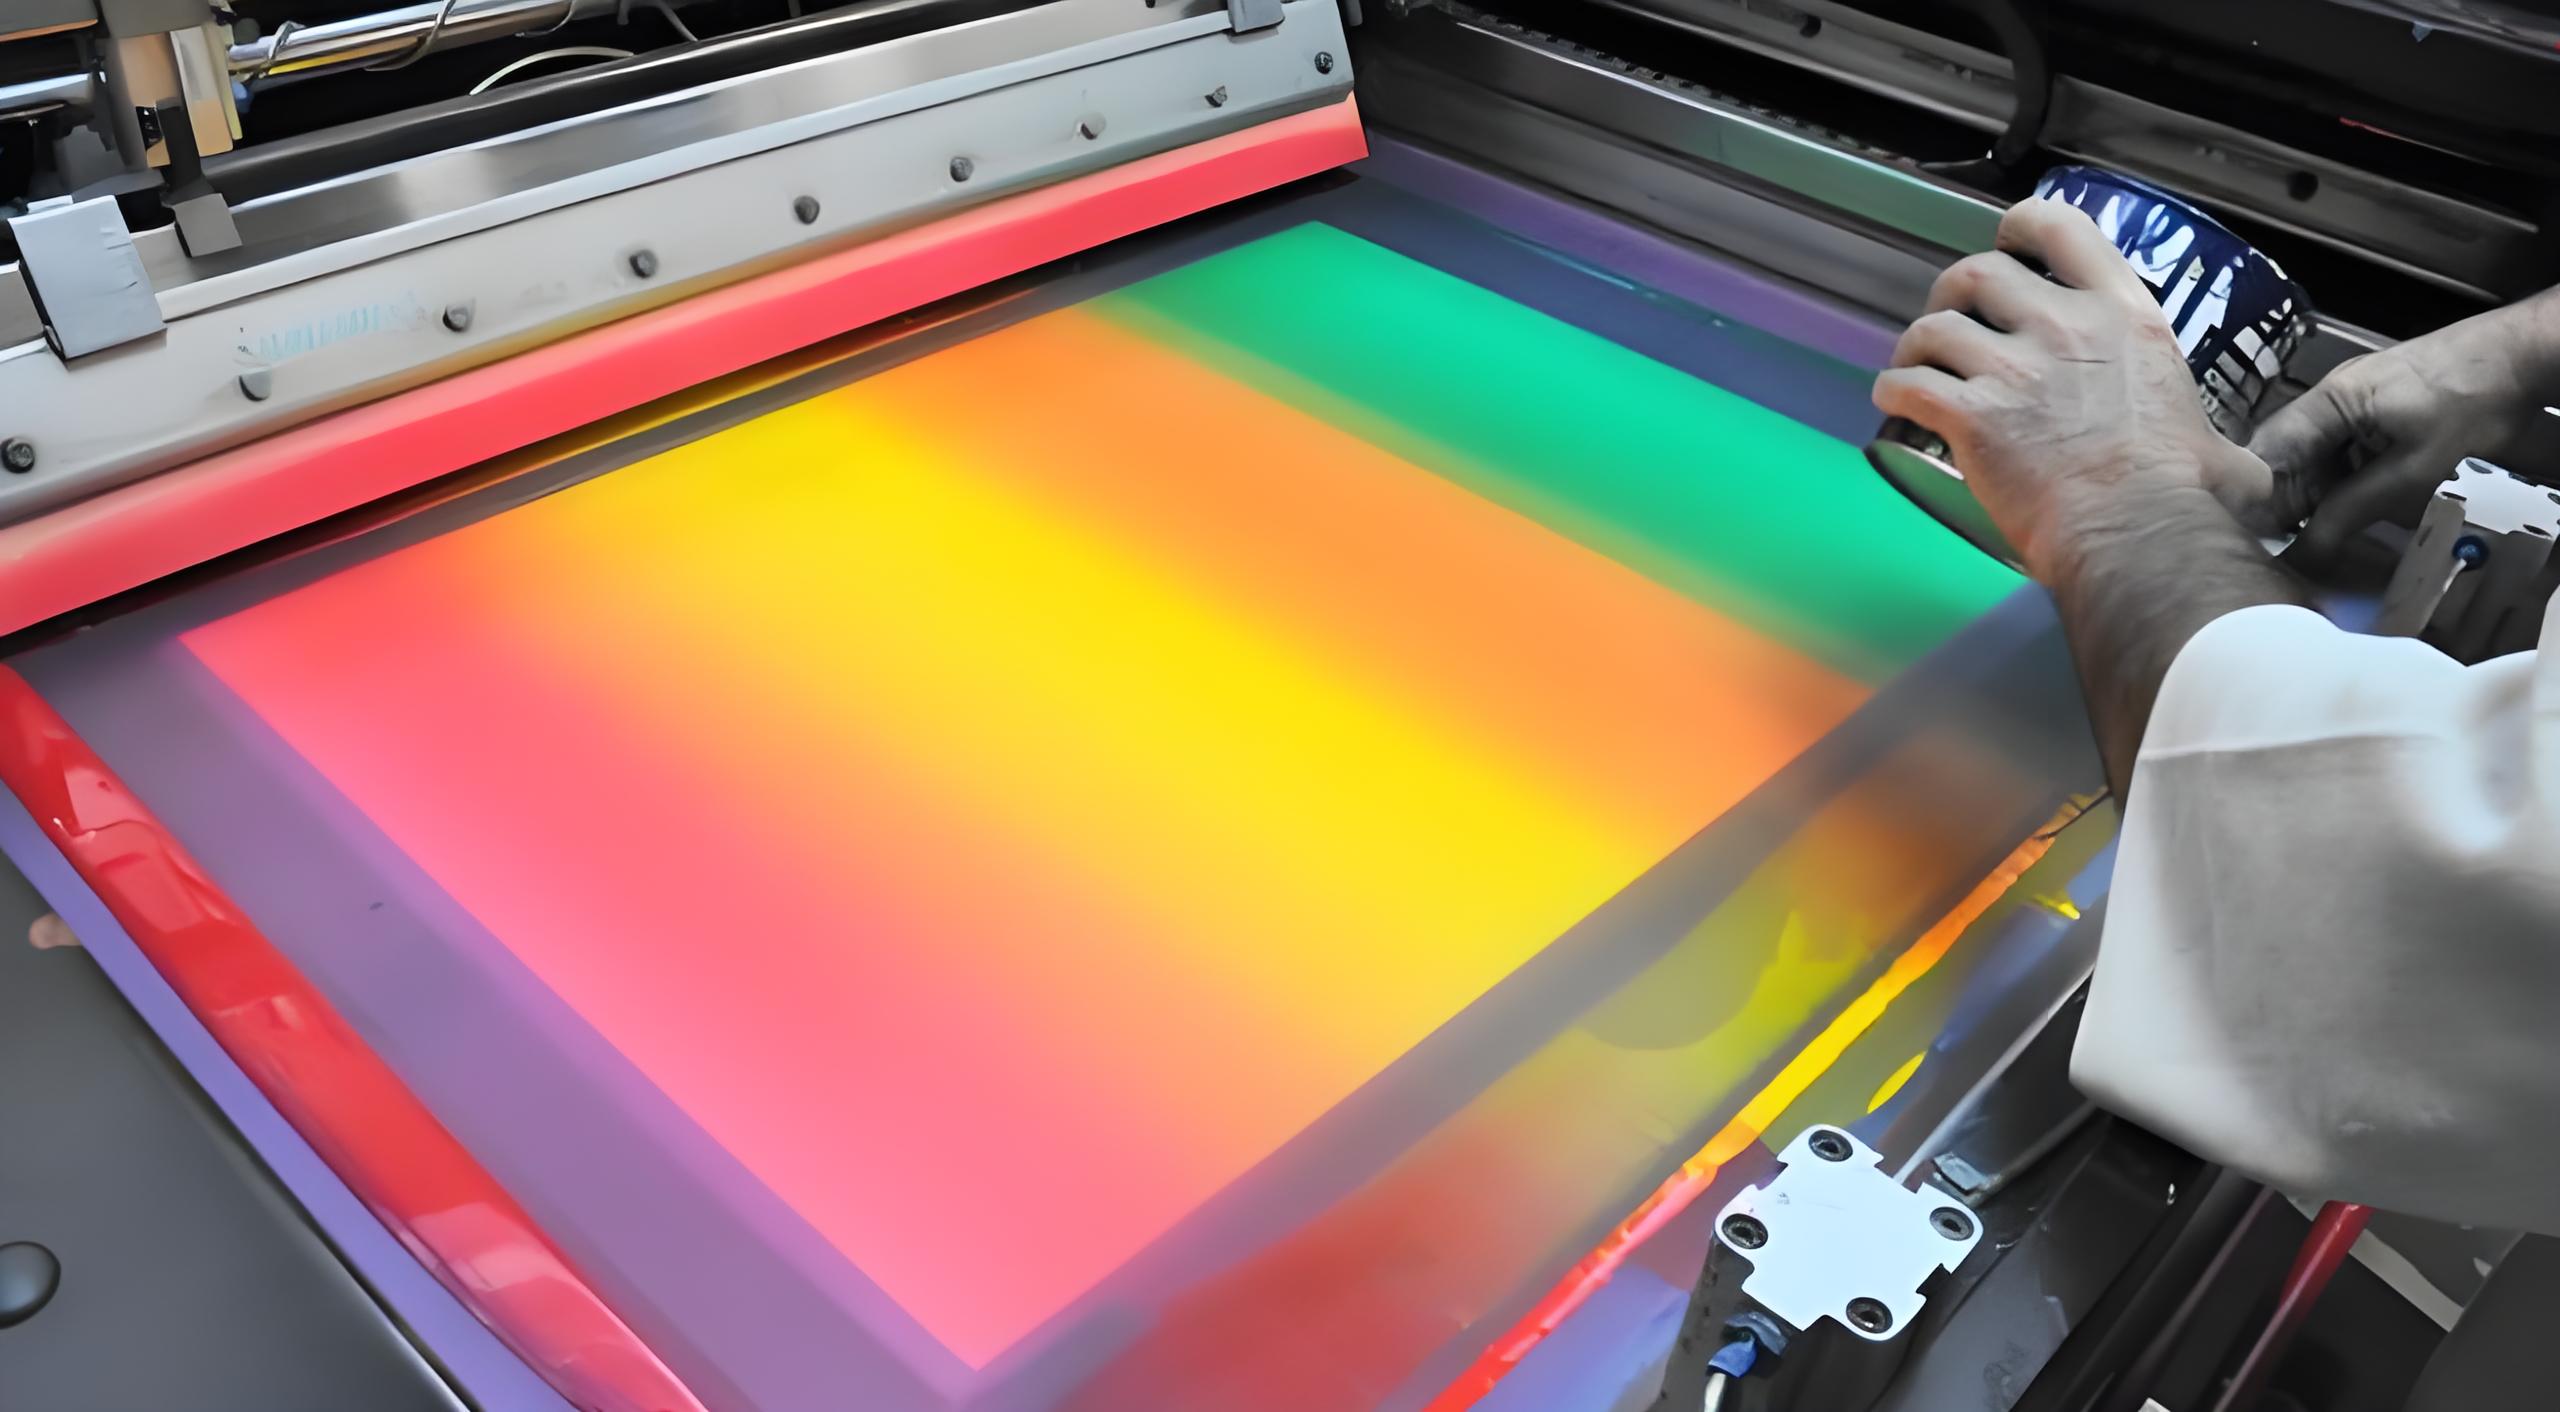
Screen printers use the CMYK system—cyan, magenta, yellow, and black (key)—to reproduce complete-colour photographs. Unlike the RGB device used by displays, CMYK inks mix together in various quantities on the substrate to shape a astonishing array of colors. When you layer these procedure colorations using a high mesh screen, the end result is a photograph-satisfactory, high-element image, often known as the 4 color process.
CMYK process is based on halftones—tiny dots of every manner shade—that blend visually to create photorealistic photos. The capability to overlap semi-obvious method plastisol permits printers to simulate shadows, highlights, and gradients, even with a confined palette of technique cmyk inks. The magic is in how the ink layers have interaction with each the mesh and the garment.
3.Why Use Process Plastisol Inks for Four Color Printing?
Process plastisol inks—the ones made specially for CMYK packages—are formulated with unique care for transparency, viscosity, and blendability. Regular, popular inks truly can’t mirror the colourful mixing and subtle transparency needed for lifelike screen prints. In four colour method printing, you need inks that layer smoothly with out clogging the mesh or bleeding into every other.
A huge a part of the appeal is predictability. Process cmyk inks are synthetic to exacting requirements, so you realize each supply will behave predictably on every occasion. If you want reproducible, high-extent runs with regular print fine, you want method plastisol instead of primary spot color or preferred plastisol ink.
4. How Do Process Cyan, Magenta, Yellow, and Black (CMYK) Inks Blend to Recreate Color Images?
Let’s spoil down the coronary heart of CMYK printing: the process colorings. Each manner ink—system cyan, method magenta, technique yellow, and system black (often referred to as method black or “Key”)—is translucent and designed to overlap precisely. When tiny dots of each ink are laid down within the proper halftone pattern, your eye blends them into easy gradients and colourful tones.
CMY are the primary colorings for subtractive colour blending, growing a wide colour gamut via overlapping. Black, or system black, sharpens element, complements contrast, and deepens shadows—essential for excessive-detail pictures like faces or photorealistic prints. Getting the combination proper relies upon on mesh be counted, layer management, and controlling ink viscosity so the print doesn’t bleed or lose sharpness.
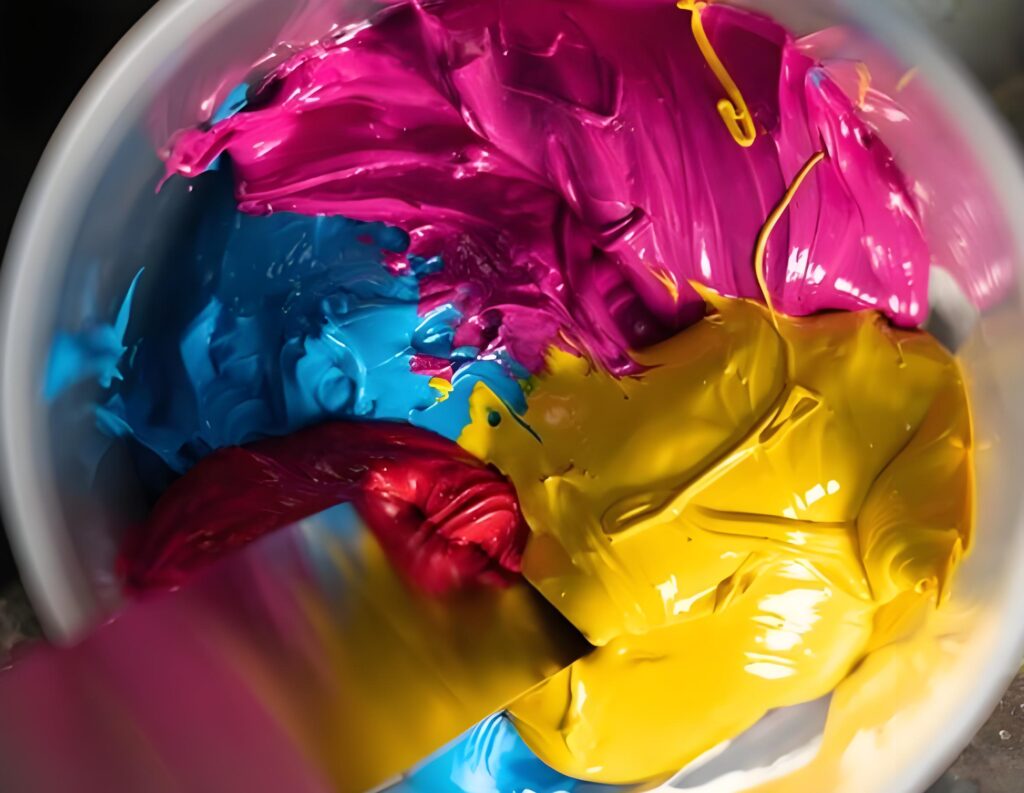
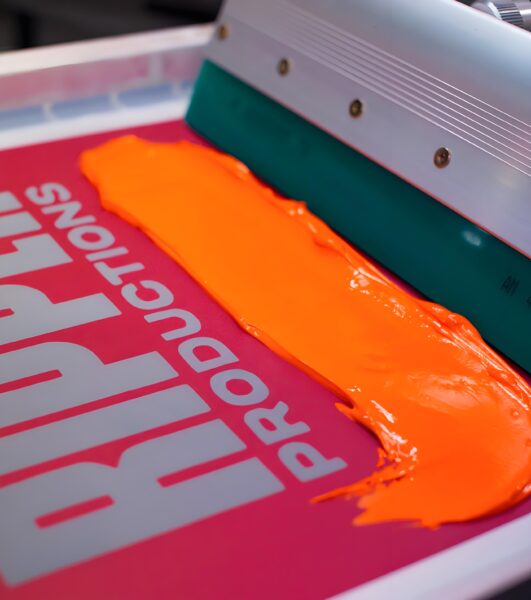
5. What You Need in Your Complete Set of Inks and Supplies
A genuine four coloration system plastisol package consists of: procedure cyan, procedure magenta, system yellow, process black ink, in addition to a high mesh be counted display (which include 305 mesh), registration equipment, and proper emulsion for crisp stencil detail. To maintain the go with the flow and consistency of your print, a reducer or other additive is every now and then mixed into the ink for the proper viscosity and easy printability.
Remember, your supply setup makes or breaks a coloration procedure print. Invest in outstanding inks for screen printing, top class squeegees, sharp mesh, and a reliable curing device. Don’t forget approximately flash equipment—every now and then you’ll want a short remedy among colors to enhance vibrancy whilst preventing unwanted overlap or bleed.
6.Preparing Your Artwork for High-Detail CMYK Plastisol Ink Printing
High-detail manner printing begins lengthy before you contact a display screen—it starts within the software. You want to split your artwork into the 4 procedure colors (CMYK), convert images the usage of a committed RIP or design software program, and lay out every color channel as a separate halftone report. Halftones are tiny dots that trick the eye into seeing gradients, and getting them proper is crucial to vibrant, photorealistic color process plastisol printing.
Remember, the proper report setup manner sharper edges, greater vibrant hues, and a print that pops. Always double test your separations, and use mockups to preview how the very last print will read earlier than going to display screen.
7. Screen Prep: Mesh Counts, Emulsion, and Getting Crisp Halftones
To master method plastisol display print jobs, use a excessive mesh be counted (generally 305 mesh or maybe better). High mesh enables finer halftones and sharper transitions between your procedure inks, ensuring photorealistic results. Coating your screen with an appropriate emulsion gives you crisp stencils and minimizes bleed for the duration of printing.
The right mesh and emulsion are the spine of sharp, high-element prints. Consistent anxiety, easy edges, and proper exposure imply your procedure cyan, magenta, yellow, and black layers will align perfectly, handing over a full-color visual punch.
8.Mixing and Printing Techniques for Photorealistic Results
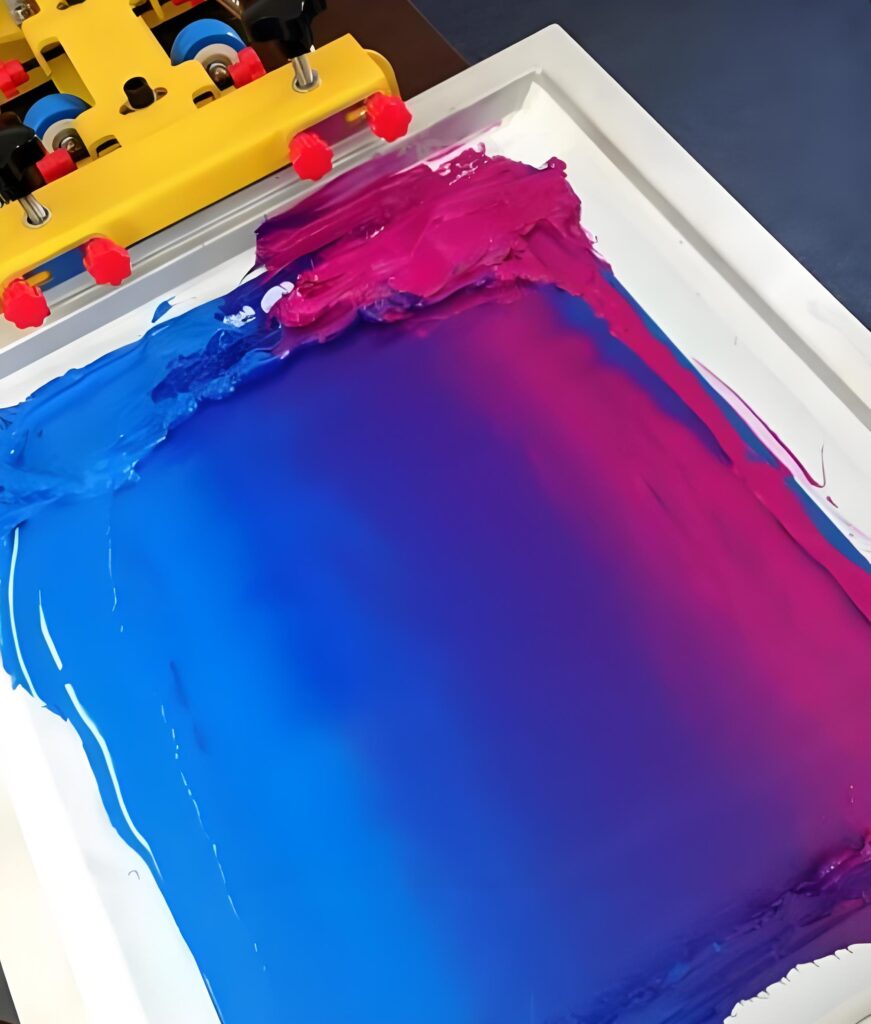
Process plastisol ink, by way of layout, demands cautious blending and print approach. Maintain right viscosity—a too-thick ink will clog your mesh and lose element, at the same time as runny ink can bleed, dulling the very last print. For the ultimate soft hand and vibrant colour, test with blend ratios and stroke speeds on your squeegee.
Use flash curing among layers as wanted, however be mindful: over-curing or under-curing can harm adhesion, alter transparency, or mute coloration. The proper additive or reducer may be jumbled in for a smooth waft and sharp, vibrant finish. Each layer of procedure ink calls for constant pressure, perspective, and registration for a expert result.
9.Curing and Checking Your Final Print: Ensuring Vibrant & Consistent Color
Curing is the step that “sets” your plastisol ink, locking in both durability and vibrancy. Plastisol needs to hit its cure temperature (typically ~320°F or 160°C), so check each print with a temp gun or test strip to ensure the ink system has fully fused to the garment. Sloppy curing can lead to cracking, poor washability, or inconsistent color.
Examine your final print under bright light to spot any registration issues, ghosting, or unwanted overlap between your process colors. The best screen printers perform test prints before main runs, making tweaks until color is sharp, full, and photorealistic. For clients demanding high-detail and longevity, this step is absolutely vital.
10.Common Challenges with Process Plastisol and How to Solve Them
Even the pros wrestle with issues like mesh clogging, ink bleed, and inconsistent opacity with color process plastisol ink. The key is troubleshooting: check mesh tension, adjust your ink supply and viscosity, and consider additives when things get too sticky or runny1. If your yellow seems muted or your magenta won’t pop, review your artwork separations and double-check your print sequence.
Avoid putting too much volume of ink onto the substrate—too much can cause bleed, while too little can hurt opacity. Use sharp mesh, balance your layers, and don’t be afraid to rekindle your print enthusiasm with a new additive or a flash between tricky colors. Every process cmyk inks print is a chance to experiment and master your craft.