Printing in white ink, especially with plastisol ink white, can be a challenging yet rewarding process. White ink is often used to create bold, standout designs, particularly on dark or colored backgrounds. However, achieving a smooth, opaque print requires understanding the right techniques and equipment. In this article, we’ll explore the process of printing in white ink, covering everything from the types of printers that can handle white ink to step-by-step guides for printing on various types of paper.
Can Printers Print Plastisol Ink White?
Printing in white plastisol ink is not as straightforward as printing in other colors. Standard printers typically lack the capability to print white because most inks are translucent and rely on the white of the paper to achieve the correct hue. However, specialized printers and techniques allow for the application of white ink, particularly in screen printing and digital printing processes.
Screen Printing with Plastisol Ink White
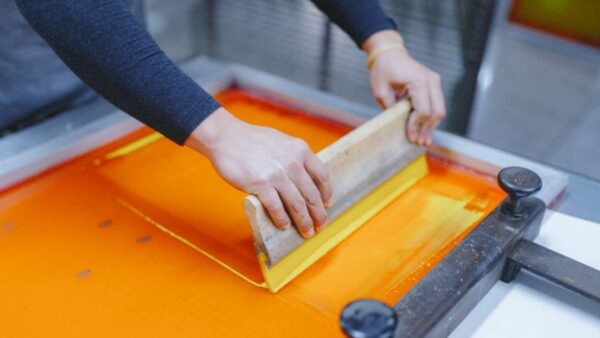
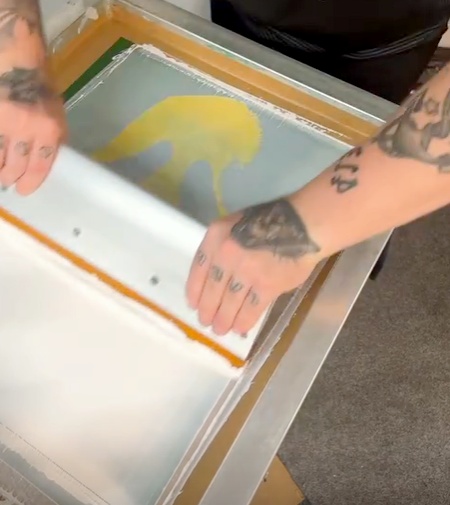
Screen printing is one of the most common methods for applying white ink to garments and other materials. In screen printing, a mesh screen is used to transfer ink onto a substrate, such as fabric, paper, or plastic. Plastisol ink white is particularly favored in this method due to its opacity and ability to sit on top of darker fabrics without losing vibrancy.
Digital Printing with Plastisol Ink White
While less common than screen printing, some advanced digital printers are equipped with white plastisol ink cartridges. These printers are often used for printing on transparent or colored materials where white ink is necessary to create a base layer or to highlight specific design elements. White ink in digital printing must be carefully managed, as it requires specialized software and hardware to achieve the desired results.
Top White Ink Printers
Choosing the right printer for white ink printing is crucial to achieving high-quality results. Here are some top options for both screen printing and digital printing:
Screen Printing Presses
- Automatic Screen Printing Presses: These machines are ideal for high-volume production and consistent results. Brands like M&R and ROQ offer presses with features designed for printing with white plastisol ink, ensuring even coverage and quick curing times.
- Manual Screen Printing Presses: For smaller operations or more hands-on control, manual presses from brands like Riley Hopkins or Vastex are excellent choices. These presses allow for detailed adjustments and are perfect for specialty prints.
Digital Printers with White Plastisol Ink Capabilities
- Epson SureColor P700/P900: These printers are popular in the photography and fine art world and come equipped with white ink cartridges, making them suitable for printing on dark or colored media.
- Roland VersaUV LEF Series: Known for its versatility, this printer can handle a variety of substrates, including those that require white ink. It’s a great choice for printing on promotional items, packaging, and more.
- Mimaki CJV300 Series: This printer offers both print and cut functions, with the ability to print white ink on a range of materials. It’s particularly favored for creating custom labels, decals, and apparel.
White Plastisol Ink Print Step-by-Step
Printing with plastisol ink white, especially on dark or colored substrates, requires careful preparation and execution. Here’s a step-by-step guide to achieving the best results with white plastisol ink:
Step 1: Prepare Your Design
Ensure your design is optimized for white ink printing. High-contrast designs with bold lines tend to work best. If you’re using a digital printer, make sure the design software supports white ink and that you’ve properly set up the white areas in your artwork.
Step 2: Choose the Right Substrate
Select a substrate that complements the use of white ink. For screen printing, dark-colored fabrics like black or navy are ideal for showcasing the opacity of plastisol ink white. For digital printing, consider using colored or transparent materials that highlight the contrast of white ink.
Step 3: Prepare the Screen (for Screen Printing)
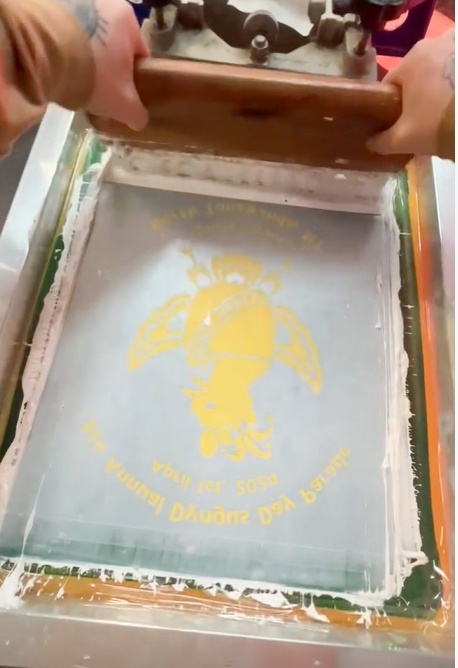
If you’re using screen printing, prepare your screen by coating it with emulsion and exposing it with your design. Ensure the screen mesh count is appropriate for white ink, typically around 110 to 160 mesh. This allows the thick white plastisol ink to pass through and adhere to the substrate.
Step 4: Print the White Plastisol Ink
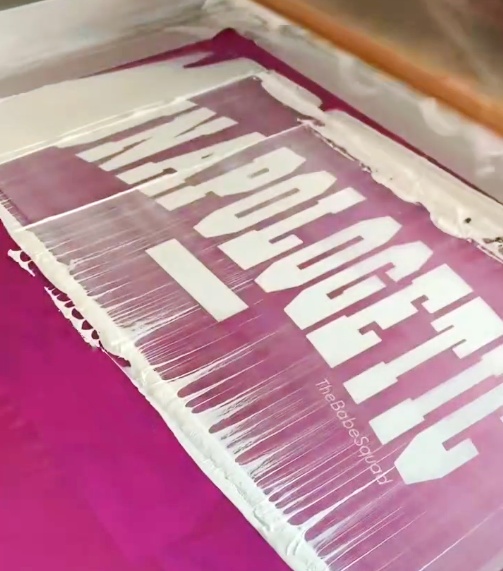
For screen printing, load your substrate onto the press and apply the white plastisol ink using a squeegee. Use a strong, even pressure to ensure the ink is evenly deposited. For digital printing, ensure the printer settings are configured to apply the plastisol ink white in the correct areas.
Step 5: Cure the Ink
Curing is crucial for plastisol ink. For screen printing, cure the white ink using a conveyor dryer at a temperature of around 320°F (160°C). For digital prints, follow the printer’s instructions for curing or drying the ink to prevent smudging or fading.
Step 6: Inspect and Finish
After curing, inspect the print for any issues like incomplete coverage or uneven curing. For screen prints, you may need to perform a final flash cure or add a second layer of ink to achieve full opacity.
How to Print in White Plastisol Ink on Black Paper
Printing in white ink on black paper is a striking way to create bold, high-contrast designs. Here’s how you can achieve this effect:
Step 1: Select the Right Paper
Choose a high-quality black paper that’s suitable for your printing method. The paper should be thick enough to handle multiple layers of ink without warping or bleeding.
Step 2: Prepare the Design
Make sure your design is set up correctly, with the white areas properly designated. For digital printing, use design software that supports white ink layers.
Step 3: Print the White Plastisol Ink
If you’re using screen printing, follow the same steps as you would for fabric, applying the plastisol ink white in layers until you achieve full opacity. For digital printing, use a printer that supports white ink and ensure the settings are optimized for printing on dark paper.
Step 4: Cure the Ink
Cure the ink as needed, following the same principles used for fabric. Make sure the ink is fully dried and adhered to the paper before handling or framing the final print.
How to Print in White Plastisol Ink on Coloured Paper
Printing plastisol ink white on colored paper follows a similar process to black paper but with a few adjustments to ensure the color of the paper doesn’t affect the vibrancy of the white plastisol ink.
Step 1: Select the Right Paper
Choose a colored paper that provides a good contrast with white plastisol screen printing ink. Lighter colors can work well, but darker shades may require multiple layers of ink to achieve full opacity.
Step 2: Prepare the Design
As with black paper, make sure your design is set up for white plastisol screen printing ink printing. Consider the color of the paper when designing, as it will impact the final look of the print.
Step 3: Print and Cure
Apply the plastisol ink white using your chosen method, and cure it according to the screen printing plastisol ink manufacturer’s recommendations. Be prepared to apply multiple layers if necessary to achieve the desired opacity.
Step 4: Final Inspection
Once cured, inspect the print for any inconsistencies or issues with coverage. If needed, apply additional layers or touch-ups to ensure a clean, vibrant print.
Conclusion
Printing in plastisol ink white, especially with plastisol ink white, requires careful preparation and the right equipment. Whether you’re printing on dark fabrics, black paper, or colored materials, following these steps will help you achieve high-quality, opaque prints. With the right techniques, you can create stunning, high-contrast designs that stand out on any substrate.