
Table of Contents
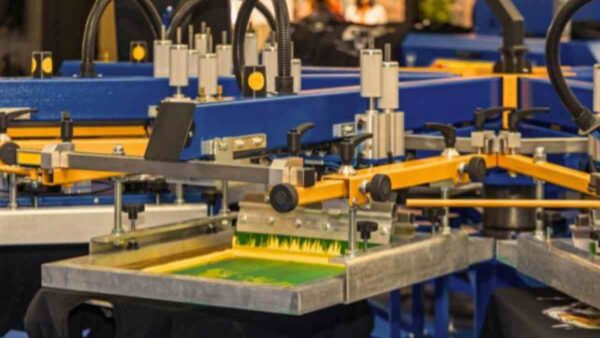
Automatic screen printing presses are built for speed but the flash cure unit often dictates the actual rhythm of the shop floor. Most print shops lose hours of productive time every week because their flash settings are based on guesswork rather than data. Honestly, just by dialing in the right temperature and dwell time, you can realistically boost your production throughput by 20% to 30%. It’s a huge jump. Plus, getting your flash optimization right means you won’t have to deal with scorched garments or that annoying dye migration on polyester. It also makes sure your screen printing plastisol ink actually bonds perfectly between layers. When everything clicks, the press just runs smoother, you’ll notice your energy bills starting to drop, and your print quality stays dead-on—from that very first shirt all the way to the ten-thousandth.
What Is Flash Time in Automatic Screen Printing?
Flash time is the brief window where an infrared or quartz heater applies intense heat to the ink surface. We aren’t trying to cure the ink here. Instead, we are “gelling” it. This means the ink reaches a state where the surface is dry to the touch but the core remains tacky and uncured. In a high-speed automatic environment, this happens in seconds. The goal is a surface temperature between 220°F and 250°F (104°C – 121°C), which locks in proper inter-coat adhesion without ink bleeding.
Why Excessive Flashing Reduces Production Throughput
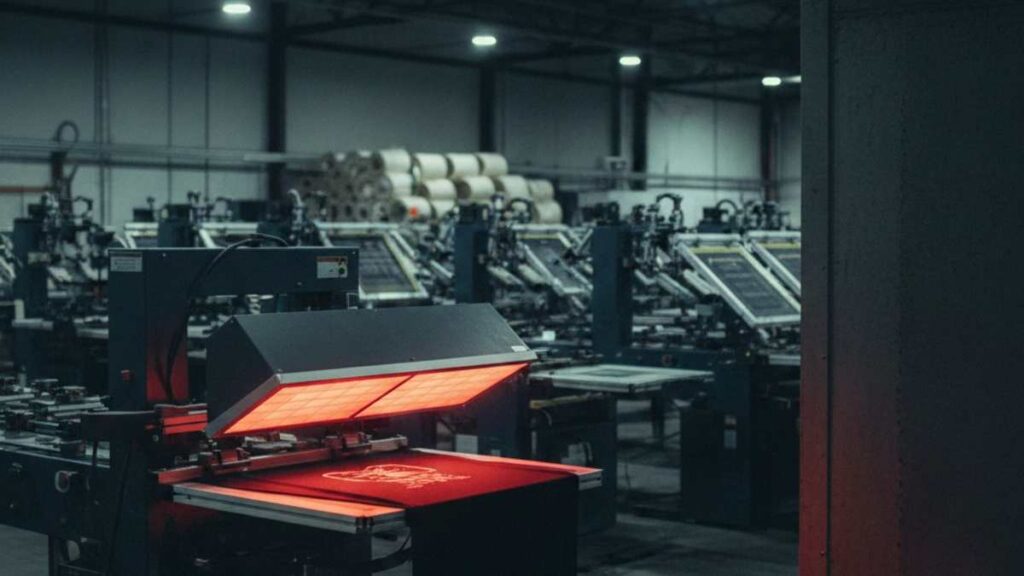
I often see operators setting their flash for 7 or 8 seconds because they want to be “safe.” This is a production killer. If your flash takes longer than your print stroke, the entire press waits for the heater. This “open time” adds up. Over a 10-hour shift, an extra 2 seconds per cycle on a 500-shirt-per-hour run costs you over 270 shirts in lost capacity.
Beyond speed, too much heat creates a vicious cycle. The pallets get hotter and hotter, which makes the ink in the screens above them start to dry out or “skin over.” Excessive flashing also leads to fabric shrinkage and makes the pvc-free plastisol ink so hard that the next layer of ink can’t grab onto it. This results in poor intercoat adhesion where the print literally peels off after one wash.
What Determines the Required Flash Time?
Several variables change the math on flash time. First is the type of heater. Quartz flashes react instantly and are much faster than older infrared panels. Second is the ambient temperature of your shop. On a humid Tuesday morning, your flash might need more time than on a dry Thursday afternoon. Third, and most importantly, is the pallet temperature. I always recommend running the press for 15 cycles to pre-heat the aluminum pallets to about 140°F. A warm pallet assists the flash from underneath, cutting down the time needed from the top.
How Plastisol Ink Formulation Affects Flash Speed
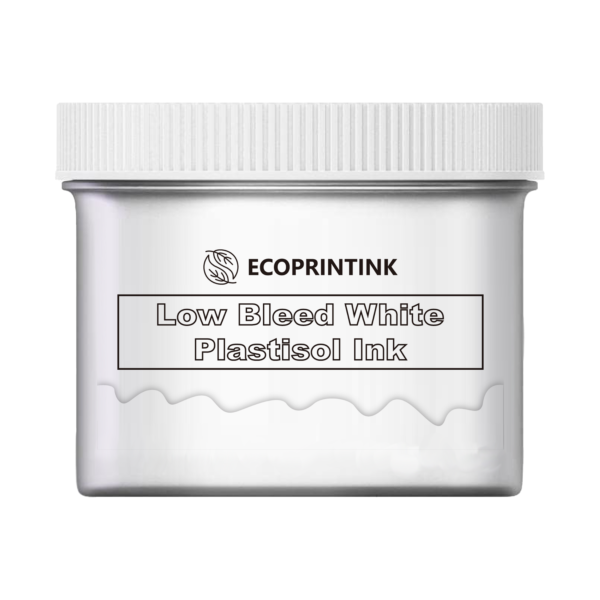
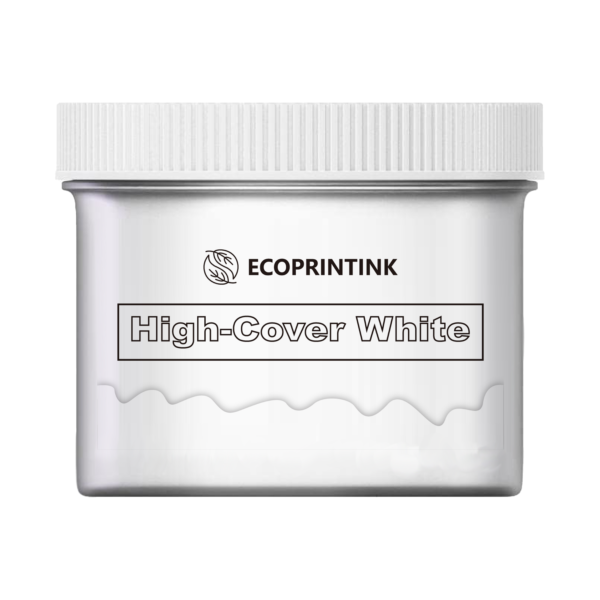
Not all inks are created equal. A high-quality white plastisol ink from ECOPRINTINK is formulated with specific resins that trigger a “flash-dry” response at lower temperatures. Cheaper inks often use “filler” resins that take longer to reach the gel point. If you use a low-bleed ink designed for polyester, the chemistry is even more sensitive. These inks need to gel quickly to prevent the garment dyes from turning your white ink into a dull pink or grey.
How Ink Deposit Thickness Changes Flash Time
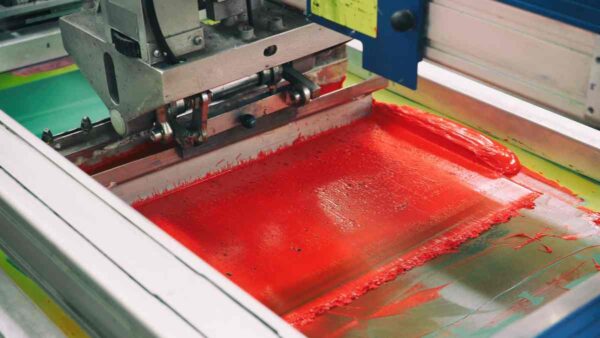
It is simple physics: more mass takes more energy to heat. If you are printing a thick 3D-style print using specialty screen printing ink, you are laying down a heavy “deposit.” That thick layer of ink acts like an insulator. You’ll need a longer dwell time or a higher power setting compared to a thin vintage-style print. If you don’t adjust, the top will be dry but the bottom will be liquid, causing the whole print to “smush” when the next screen hits it.
How Mesh Count Affects Flash Requirements
Your mesh count is your primary tool for controlling ink volume. A 110 mesh screen drops a lot of ink, requiring more flash time. If you switch to a 230 mesh for a highlight white, you can often cut your flash time in half. I’ve found that many shops could solve their “slow flash” problems just by moving to a higher mesh count and using a more opaque white plastisol ink that covers well with less volume.
How to Set Flash Temperature and Exposure Time
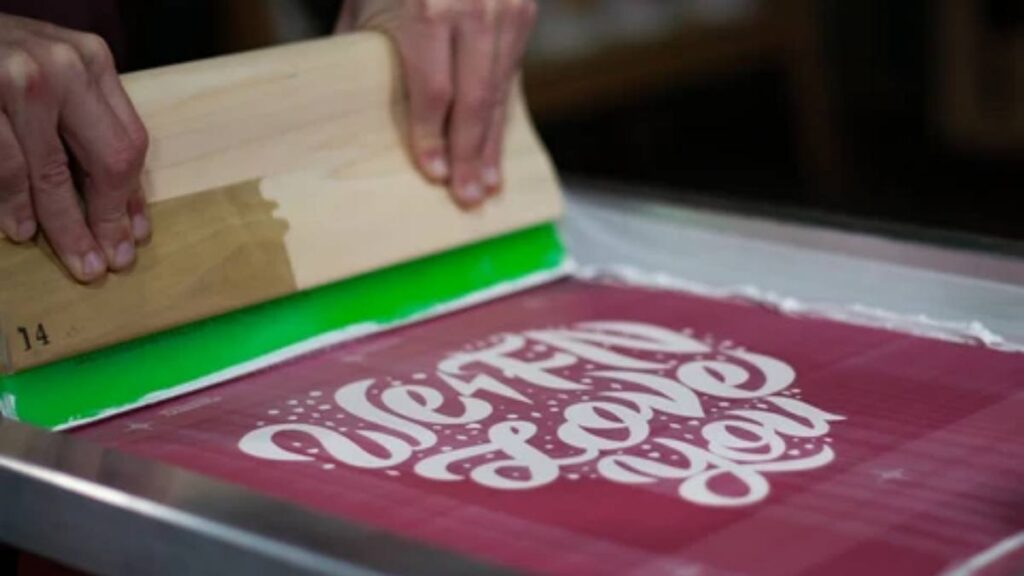
Don’t trust the numbers on the control panel alone. Use a non-contact infrared pyrometer to measure the actual ink temperature as the pallet rotates away from the flash.
- Set the flash height to 2-3 inches above the garment.
- Start with a 3-second dwell time.
- Check the temperature.
- Adjust in 0.2-second increments until you hit that 230°F sweet spot.
Why the Ink Surface Should Be Gelled but Not Overheated
Think of gelling like a “skin.” You want the ink to be firm enough that you can touch it with your finger and no ink comes off. However, it should still feel slightly rubbery. If it feels like a hard plastic shell, you’ve over-flashed it. Over-flashing kills the “intercoat adhesion.” The next layer of screen printing plastisol ink needs those open chemical bonds in the gelled layer to fuse together during the final trip through the conveyor dryer.
How to Reduce Flash Time in Multi-Color Printing
Strategic setup is the best practice here. If you have a 10-color job, don’t just put a flash after every head. Place your flashes after the most critical “foundation” layers, like the underbase. You can also use “cooling stations”—empty heads where a fan blows on the garment. This brings the temperature of the ink and pallet back down so the next screen doesn’t stick. Using gold screen printing ink or other metallics usually requires very little flash because the metal particles conduct heat incredibly fast.
Wet-on-Wet Printing: When Can You Skip Flashing?
Flashing is a bottleneck, so skip it when you can. Wet-on-wet printing works best with high-mesh screens and specific ink formulations. If your design has colors that don’t touch or overlap, you don’t need to flash between them. Even with overlapping colors, a “simulated process” technique allows you to print several colors before hitting a flash. This saves time and keeps the “hand” of the shirt soft.
Common Problems Caused by Over-Flashing
- Lower Throughput: The press is waiting for the heater.
- Fabric Overheating: Leads to scorching or “yellowing” of white shirts.
- Dye Migration: On polyester, too much heat pulls the fabric dye into the ink.
- Poor Adhesion: The top layers peel off because the underbase was too “done.”
- Energy Waste: You are burning money on electricity you don’t need.
Common Problems Caused by Insufficient Flashing
- Ink Pickup: The wet ink sticks to the back of the next screen.
- Smearing: The design loses detail as colors mix.
- Contamination: A bit of red ink gets into your yellow screen, ruining the whole bucket.
- Registration Problems: Wet ink acts like a lubricant, causing the garment to shift on the pallet.
Flash Troubleshooting Table
| Problem | Possible Cause | What to Check |
| Ink sticks to next screen | Flash insufficient | Increase dwell time or check if bulbs are old. |
| Production too slow | Flash too long | Switch to high-opacity ink or lower the flash height. |
| Polyester bleeding | Excessive heat | Lower flash temp; use ECOPRINTINK low-bleed white. |
| Garment scorching | Flash too close | Increase distance between garment and heater. |
| Ink peeling after wash | Over-flashing | Decrease flash time; ensure it’s only “gelled.” |
How to Test the Optimal Flash Setting
The “Touch Test” remains the industry standard. Reach in (carefully!) and tap the ink with your pointer finger. It should feel warm and dry, leaving no residue on your skin. Another pro tip: use “temp strips” on the pallet. These stickers change color at specific temperatures, giving you a physical record of the heat your garments are actually seeing.
Flash Optimization Checklist for Automatic Printing Lines
- Pre-heat pallets: Run 10-15 cycles before starting the real production to ensure a consistent heat base.
- Level the flash: Ensure the heating element is perfectly parallel to the pallet to avoid uneven gelling.
- Clean the bulbs: Dust on quartz bulbs can reduce heat output by 10%. A quick wipe saves time and money.
- Set “Idle” power: Keep the flash at 10-15% power between cycles so it doesn’t have to start from zero every time.
- Check garment moisture: Damp shirts (common in humid climates) require more flash time to evaporate the water before the ink can gel.
- Use Cooling Fans: Ensure the station after the flash has a fan to set the ink and cool the pallet.
FAQ: What Industrial Print Shops Need to Know
1. How does ECOPRINTINK help with sustainability goals?
Actually, our pvc-free plastisol ink is designed so you can hit those strict environmental standards without having to mess with your existing workflow. We’ve formulated these inks to gel at standard temperatures. So, the good news is you don’t have to sacrifice your production speed just to stay eco-friendly.
2. Can I use the same flash settings for all fabric types?
No. Synthetics like polyester and nylon reach temperature much faster than heavy cotton. If you use “cotton settings” on a poly-blend, you risk dye migration. Always test a sample for every new fabric lot.
3. Why is my white ink still tacky after a 4-second flash?
This usually happens if the pallet is cold or if the ink deposit is too thick. Take a look at your squeegee pressure. If you’re accidentally “driving” the ink deep into the fabric instead of shearing it cleanly across the top, it’s going to stay wet much longer than it should.
4. Does the color of the garment affect flash time?
Absolutely. It’s a simple fact that black shirts soak up infrared heat way faster than white ones do. Because of that, you might find yourself needing to shave about 0.5 seconds off the flash time whenever you switch over from white tees to navy or black ones.
5. How do I prevent the “ghosting” effect on some shirts?
In many cases, ghosting is just a chemical reaction that gets triggered by too much heat and trapped moisture. If you optimize your flash down to the absolute minimum time needed, you’ll seriously reduce the chemical stress on both the fabric fibers and the ink itself.

 EN
EN  PT
PT  ES
ES  DE
DE  FR
FR  IT
IT  JA
JA  PL
PL