Mixing screen printing ink is a valuable skill in any print shop. Whether you need a specific color for a one-time job or want to expand your color palette without stocking every shade, learning how to mix screen printing inks can save time and money. In this article, we’ll explore how to mix plastisol ink and other types of inks, the theory behind color mixing, and best practices to ensure you achieve the desired color every time.
Why Mix Screen Printing Ink?
Mixing screen printing ink allows you to create custom colors without having to purchase pre-mixed inks for every job. This is particularly useful for small orders or unique designs requiring specific shades that aren’t commonly stocked. By mastering the art of mixing, you can fulfill custom requests efficiently, manage ink inventory better, and reduce waste.
Using mixing systems, many print shops can generate precise colors consistently. Some vendors even offer computerized software to guide the mixing process. However, understanding the fundamentals of ink mixing manually can be just as effective, especially for quick jobs.

Understanding Color Theory in Screen Printing
Before diving into mixing plastisol screen printing ink, it’s important to understand basic color theory. Colors can be categorized into primary, secondary, and tertiary colors, which play a crucial role in creating the shades you need.
Primary Colors
Primary colors are the base colors that can be mixed to create a wide range of other colors. In screen printing ink, these colors are usually red, yellow, and blue. When mixing plastisol inks, using pure primary colors allows you to mix various hues without color contamination.
Secondary Colors
Secondary colors are created by mixing two primary colors. For instance, mixing red and yellow yields orange, blue and red make purple, and yellow and blue produce green. When you mix these secondary colors with the primary colors, you can achieve a broader color spectrum.
Tertiary Colors
Tertiary colors are formed by mixing a primary color with a secondary color. This creates more complex colors like lime green (yellow + green), scarlet (red + orange), and turquoise (blue + green). Understanding these color relationships is key when mixing screen printing ink to achieve the perfect hue.
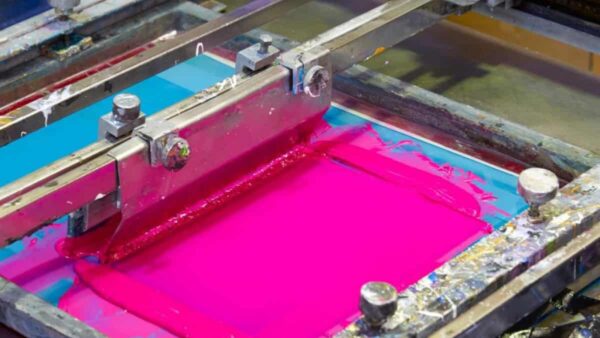
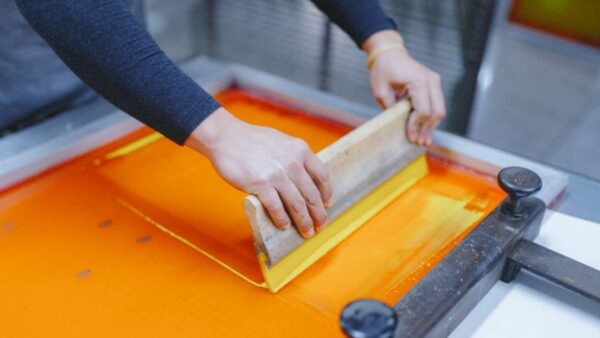
Mixing Plastisol Ink
Plastisol inks are the most common inks used in screen printing, known for their versatility and durability. Mixing plastisol screen printing ink is relatively straightforward, but it requires precision to ensure color accuracy.
Basic Steps for Mixing Plastisol Ink
- Choose Your Base Colors: Start with primary colors (red, yellow, blue) or other basic colors that closely match your desired shade.
- Measure Your Inks: Precision is key when mixing ink for screen printing. Use a scale to measure the exact amount of ink you’re mixing. This helps you reproduce the color later if needed.
- Mix Gradually: Begin mixing small amounts of ink. Gradually add more ink until you reach the desired shade. It’s easier to darken a color than to lighten it, so start with a lighter base and add darker colors incrementally.
- Test the Color: Before using the mixed ink on your actual print job, test it on a fabric swatch. This ensures that the color looks the same on the final material.
- Adjust as Needed: If the color isn’t quite right, make small adjustments. Add more of the base color or mix in other colors to tweak the hue.
Pro Tip:
When mixing plastisol inks to create lighter colors, it’s often better to start with a white base and add small amounts of color. This prevents excess ink from being mixed and avoids creating too much of an undesired shade.
Mixing Additives for Custom Shades
You can create various shades by adding additives to your screen printing ink plastisol. Here are some common additives used for mixing:
- White Ink: Adding white to any color creates a pastel shade. For example, adding white to blue will result in a lighter, sky-blue hue.
- Black Ink: Mixing a small amount of black with other colors creates “burnt” colors or darker shades, such as burnt orange or brick red. Be cautious with black, as it’s a potent color and can quickly dominate the mix.
- Tinting Bases: A tinting base can be used to create translucent colors without affecting the opacity of the plastisol print. This is ideal for layering effects or achieving a more subtle look.
Advanced Color Mixing: Process Colors and Spot Colors
In silk screen printing ink, you may encounter two color systems: process colors and spot colors. Understanding these systems can help you mix screen printing inks more effectively.

Process Colors
Process colors, also known as CMYK (Cyan, Magenta, Yellow, and Black), are used for four-color process printing. By mixing these colors, you can create a broad range of colors. However, process inks are usually more transparent and are used for printing complex images like photographs.
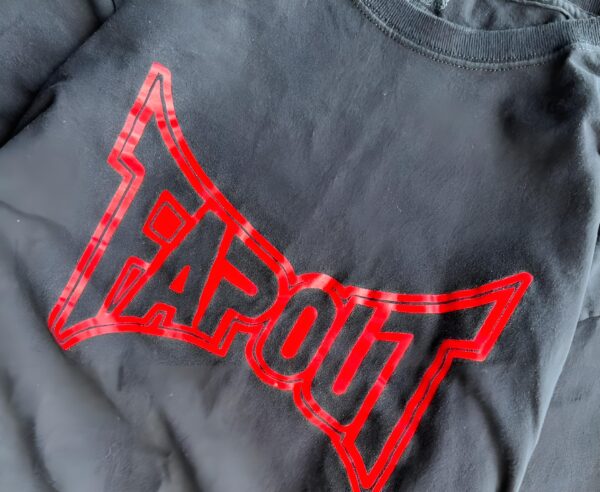
Spot Colors
Spot colors are specific colors used in a design, often created by mixing screen printing ink. Spot colors can be opaque and mixed to match specific Pantone colors. When mixing spot colors, precision is crucial to achieve consistent results.
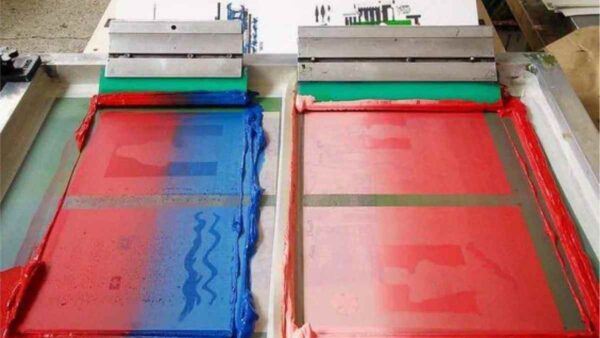
Mixing Ink for Special Effects
Special effect inks, such as metallics, glow-in-the-dark, and puff inks, can also be mixed for custom effects. For example, you can mix plastisol ink with metallic additives to create a shimmering finish. When mixing special effect inks, always test the ink on a fabric swatch to ensure the effect appears as intended.
Best Practices for Mixing Screen Printing Ink
Mixing screen printing ink is as much an art as it is a science. Here are some best practices to help you achieve the best results:
1. Mix Small Batches
Always start by mixing a small batch of ink. This allows you to experiment with colors without wasting large amounts of ink if the color doesn’t turn out as expected.
2. Use a Mixing System
Consider using a computerized mixing system if available. Many vendors provide software and mixing tools to create precise color formulas, minimizing the guesswork involved in manual mixing.
3. Keep Records
Document the amounts and types of screen printing ink used for each mix. Keeping records ensures that you can recreate the exact color in future print jobs.
4. Store Mixed Inks Properly
Store any mixed inks in airtight containers labeled with the color formula. Proper storage prevents the ink from drying out or getting contaminated.
5. Avoid Over-Mixing
Over-mixing can result in muddy colors or inks that lose their vibrancy. Mix just enough to achieve the desired hue and avoid excessive blending.
Mixing Water-Based Screen Printing Ink
While this article focuses on plastisol inks, it’s worth noting that water-based screen printing ink can also be mixed. However, water-based inks have different properties and curing requirements, so the mixing process may differ slightly. Water-based inks are typically more translucent than plastisol inks, which can affect the final color outcome. As with screen printing ink plastisol, always test water-based inks before using them on a full print run.
Ink Mixing Safety Tips
When mixing screen printing ink, follow safety protocols to protect yourself and maintain a safe workspace. Wear gloves to prevent ink from contacting your skin, and work in a well-ventilated area to avoid inhaling fumes. Always clean your mixing tools thoroughly to prevent cross-contamination of colors.
Conclusion
Mixing screen printing ink opens up a world of possibilities for creating custom colors and effects. By understanding basic color theory, using the right additives, and following best practices, you can mix plastisol ink, water-based inks, and other screen printing inks to achieve the perfect shade for your project. Whether you’re matching a specific color for a client or creating a unique design, mastering the art of ink mixing is a valuable skill in the world of screen printing.