How Long Should I Expose My Screen for Screen Printing?
When you’re diving into the world of screen printing, the exposure process plays a vital role in ensuring your design transfers properly onto the material. One of the most crucial factors is determining the correct exposure time for your screen. If the exposure time is too short, the image won’t develop clearly, while excessive exposure can cause unwanted results, making it equally important to get it just right.
The ideal exposure time varies depending on several factors, including the mesh count of your screen, the type of emulsion you’re using, and the strength of your light source. As a general guideline, exposure times typically range from 1 to 10 minutes, with lower times needed for stronger light sources and higher mesh counts. However, it’s always best to experiment and use a screen exposure calculator for precise adjustments.

Can You Overexpose a Screen Print?
Yes, overexposing a screen print is possible, and it’s a common issue for both beginners and experienced printers. Overexposure happens when the emulsion on the screen is exposed to light for too long. This can lead to a number of problems, including the inability to wash out the unexposed areas of the screen, resulting in blocked mesh and an imperfect stencil. The finer details of your design might also be lost, leading to an overall lack of clarity in your print.
Signs that you may have overexposed your screen include difficulty in washing out the image, a hard-to-remove stencil, or uneven coating of ink. It’s always best to keep a close eye on your exposure time and regularly check your results.
How Do You Calculate Exposure Time?
To calculate the right exposure time for your screen, several variables need to be considered. The process involves trial and error initially, but with a proper screen exposure calculator, you can make precise adjustments and streamline the process. Here’s a step-by-step guide on how to approach it:
- Mesh Count: A higher mesh count will require longer exposure times, as the finer mesh creates more surface area that needs to be exposed.
- Emulsion Type: The type of emulsion you are using can affect the exposure time. Some emulsions are more sensitive to light, while others are more resistant. Read the manufacturer’s guidelines for your specific emulsion.
- Light Source: The strength and distance of your light source can also alter your exposure time. Stronger lights will expose the screen faster, while weaker lights require longer exposure periods.
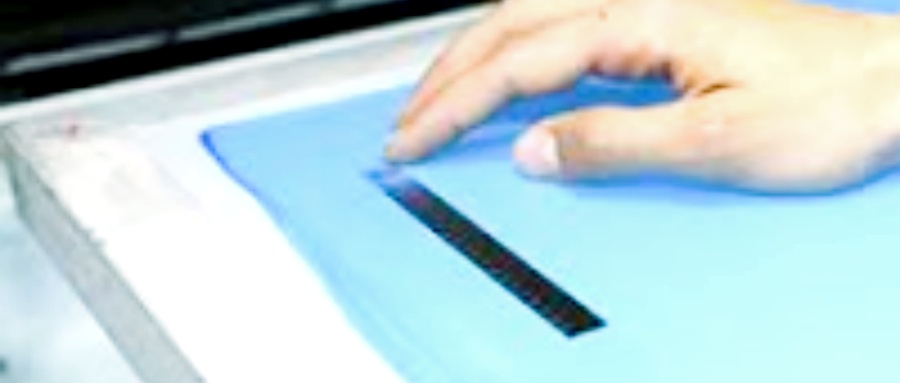
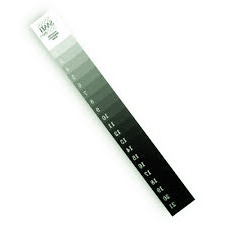
- Testing Method: One of the most effective ways to calculate exposure time is to use a test strip or wedge. A test strip is essentially a small part of your screen where different sections receive varying exposure times. After washing out the screen, the best section with clear details will give you a good indication of the correct exposure time.
How Do I Know if My Screen is Exposed?
Knowing whether your screen is properly exposed is key to achieving high-quality prints. If the exposure time was correct, the emulsion will harden in the areas that were exposed to light, while the unexposed parts will wash out, leaving behind your design on the screen.
To check if your screen is properly exposed, do the following:
- Test Washout: After exposing the screen, rinse it gently with water. If the unexposed areas wash out easily and the exposed areas stay intact, you’ve likely exposed the screen properly.
- Evaluate the Stencil: The image should appear clear and crisp. If you notice any blurriness or fuzziness in the design, it could be an indication of underexposure or overexposure.
- Check for Ink Blockage: Once you begin printing, any areas where the ink doesn’t pass through may indicate overexposure, while areas where the ink bleeds too much may indicate underexposure.

What Are the Symptoms of Screen Exposure?
Screen exposure refers to how well the emulsion has reacted to light during the exposure process. There are a few symptoms to watch for to know if your screen exposure is correct:
- Clear Image Transfer: If your design has transferred clearly without issues, it’s a sign that the exposure was successful.
- Good Ink Flow: The ink should flow smoothly through the screen, with no excess bleeding or ink blockages.
- Stability of the Stencil: A well-exposed screen will allow for multiple uses without deteriorating the stencil too quickly.
If you notice any issues with the above, you may need to adjust your exposure time or review your screen coating process to ensure better results in the future. You can also use a screen exposure calculator to fine-tune your approach, ensuring that each print has maximum clarity.
What Are the Symptoms of Underexposure?
Underexposure occurs when the emulsion doesn’t harden enough due to insufficient light exposure. This results in a screen that is prone to issues, including:
- Poor Stencil Definition: The design may appear blurry or incomplete due to parts of the emulsion not fully hardening.
- Excessive Ink Flow: If the screen isn’t properly exposed, ink may flow uncontrollably through the stencil, causing blotchy or unsatisfactory prints.
- Difficulty in Cleaning: After washing out the screen, underexposed areas may remain soft, causing the stencil to break down.
Want to Learn More About Screen Exposure Calculator?
If you want to get more precise with your screen printing process, a screen exposure calculator is your best friend. These calculators use algorithms to help you determine the best exposure time based on various factors like light source strength, emulsion type, and mesh count.
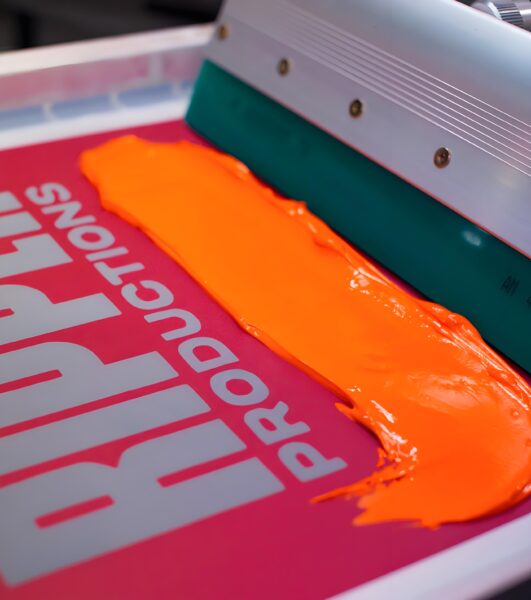
Additionally, understanding the role of printing in your process will enhance your printing results. High-quality squeegees help you push ink evenly through your screen, ensuring a clean print. Whether you’re just starting or refining your technique, a screen exposure calculator and proper tools will help you achieve professional-grade results.
Conclusion
Screen exposure is one of the most critical steps in screen printing, and understanding how to calculate and control it can save you time and effort. By using a screen exposure calculator, you can fine-tune your process for consistent, high-quality prints every time. Don’t forget to keep an eye on symptoms of underexposure or overexposure, and always ensure you have the best tools. With the right knowledge and equipment, your screen printing results will be nothing short of exceptional.